Newscoop 4.4 for Journalists and Editors
MySQL installation
Two components of the MySQL database management system (version 5.5.3 or later) are needed by Newscoop:
- the server
- the client programs
Depending on your requirements, you may prefer to run the MySQL database server on a separate machine from the MySQL client. The MySQL client must be installed on the same machine as Newscoop. On Debian/Ubuntu, installing the mysql-server metapackage will install the latest versions of both the mysql-server and mysql-client packages.
sudo apt-get install mysql-server
On Red Hat Enterprise Linux 6, you can install both the mysql client and mysql-server packages, enable MySQL to start when the server boots, and get it up and running, with the following commands (as root):
yum update
yum install mysql-server
chkconfig --levels 235 mysqld on
service mysqld start
Setting a MySQL root password
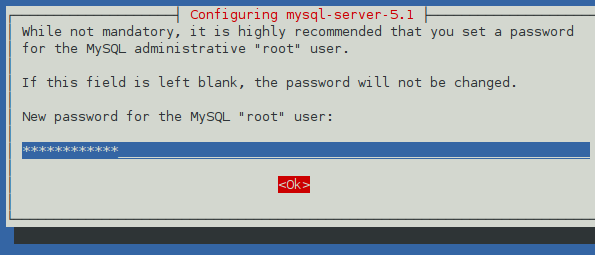
During the installation of MySQL, you should set a root password for the MySQL server, which is an important security feature. Note that the MySQL root user is different from the system root user, and should have a different password. Make a note of this password and keep it in a secure place, as you will need it shortly.
On Debian or Ubuntu, the password prompt is automatic, and looks like this in the server console:
After installation, you can run the mysql_secure_installation script to improve security by removing anonymous user access, disallowing remote root logins to MySQL, and removing the 'test' database. You will be prompted for the MySQL root password in order to run the script:
sudo mysql_secure_installation
On Red Hat Enterprise Linux, there is no facility to set the MySQL root password during package installation. Instead, you can run the mysql_secure_installation script after package installation in order to set the password:
mysql_secure_installation
First, enter the current MySQL root password, or just press the Enter key if you have not set this password before. In the next step, press the Y key when prompted Set root password?, then enter the new password:
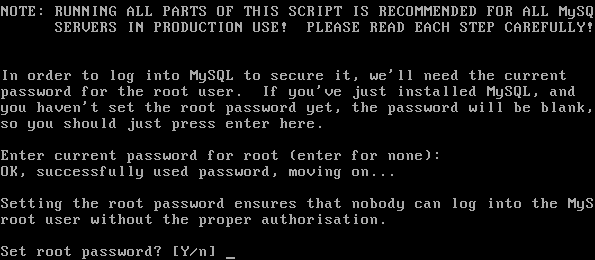
You will also be prompted to remove anonymous user access, disallow remote root logins to MySQL, and remove the 'test' database. Finally, you will be prompted to reload the privilege tables.
Setting up the Newscoop database user and password
An existing Newscoop installation should have a named database already set up on a MySQL server, with access protected by a username and password.
For a new installation of Newscoop, you will need to tell the installer to create a database to store your content in. This means you will need a MySQL user account, with database creation privileges. Using the root account as the username for everyday Newscoop access is not recommended. If you don't already have a suitable non-root account, you can set up a database username and password for Newscoop on the command line with the following steps.
1. Connect to the database management system using the root account and the password that you set during the MySQL installation.
mysql -u root -p
Enter password:
Welcome to the MySQL monitor.  Commands end with ; or \g.
Your MySQL connection id is 34
Server version: 5.5.45-0ubuntu0.14.04.1 (Ubuntu)

Type 'help;' or '\h' for help. Type '\c' to clear the current input statement.
The shell prompt will change to a mysql> prompt, which requires a semicolon at the end of each command.
2. Create a user account for Newscoop to connect to the database, limiting it to connecting from the localhost if Newscoop and MySQL are to be installed on the same server. Otherwise, specify the server that Newscoop will be connecting to MySQL from. Make a note of the username (newscoop_user in the example below) and password (newscoop_user_password in the example) that you set, in a secure place. You will need these details during the Newscoop installation.
mysql> CREATE USER 'newscoop_user'@'localhost'
    -> IDENTIFIED BY 'newscoop_user_password';
Query OK, 0 rows affected (0.04 sec)
3. Grant access privileges to the user you just created. In this example, newscoop.* means all tables of a database called newscoop, which has not yet been created. You will need to provide this database name to the Newscoop installer, so that it can create the database later.
mysql> GRANT ALL ON newscoop.*
    -> TO 'newscoop_user'@'localhost';
Query OK, 0 rows affected (0.00 sec)
4. Exit from the database management system and return to the shell prompt.
mysql> quit;
Bye
You are now ready to install Newscoop.