Live Blog 1.6 for Journalists
Creating and publishing a live blog
Creating a new live blog
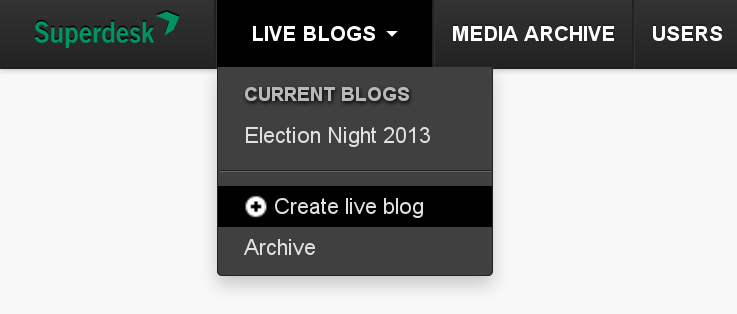
To create a live blog, click on Live Blogs in the menu, and then on Create live blog.
You will be prompted to choose a Language and title for your new live blog, and to provide a brief description.
Select 'default' as the type of blog, unless you or your system administrator have set up a custom blog type for your publication. (For information on setting up custom blog types, see the chapter Configuring your live blog).
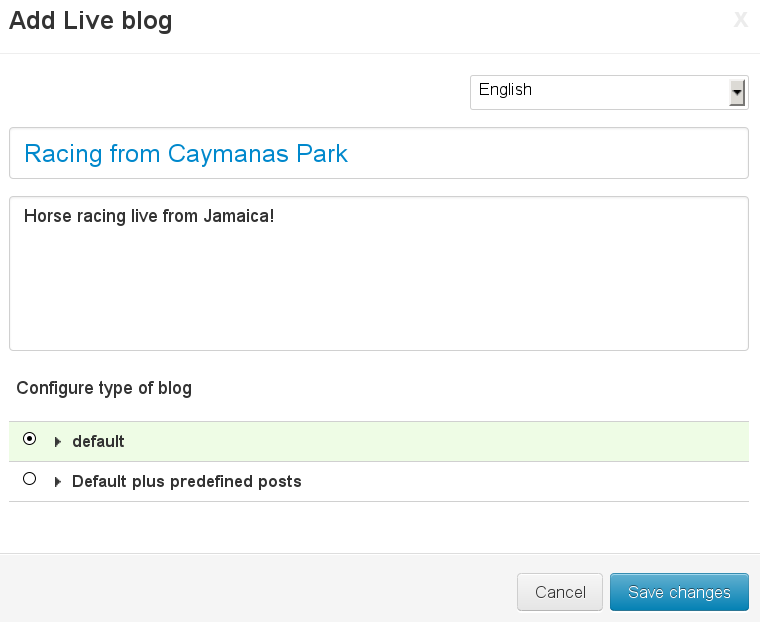
Click the Save changes button, and your new live blog will appear, empty of content and ready for you to start using. If you decide you would like to change the title or description at any time, you can do so by simply clicking on the relevant text in the right-hand pane and editing it.
Tip: To gain a little more space for viewing items in the timeline, you can click on the Collapse link to the right of your live blog's title. The description of the live blog will then be hidden until you choose to click on Expand.
Embedding a live blog into your website
Click on the Configure Blog tab near the top-left corner of the screen. This will take you to your live blog's configuration page. Under the Front-end sub-heading, select a theme from the available themes using the Embed Theme drop-down menu. (Unless additional custom themes have been enabled on your installation of Live Blog, the only choice will be the default theme). The embed code will then appear in the Embed script field.
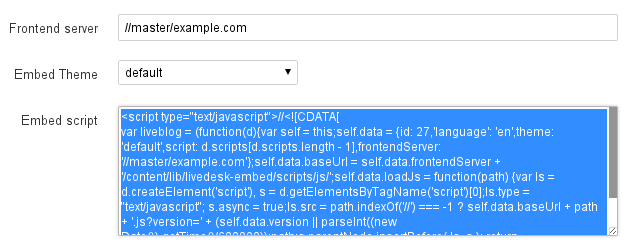
Click into the script text box, select all of it, and copy it to your clipboard (using the keyboard shortcuts Control+A, Control+C, or your web browser's right-click context menu).
This script can then be pasted into the web page where you want your new live blog to appear. Determining the exact method for embedding scripts into your publication will depend on what content management system or publishing platform you are using. This is a job for your web editor or designer.
You will not normally need to pay attention to the Frontend server field. This is only required when Live Blog is running in multiple instance mode, when there is a separate, cached instance for serving the embeddable content. In this case, inputting the name of the frontend server into this field will update the embed script with the correct information.
Closing and reopening a live blog
As soon as you create a new live blog, it is active and ready to be embedded for publication.
When you decide to stop your coverage, whether temporarily or permanently, you can do so by clicking the blue Close blog button in the top-right corner.

This will be replaced by a Reopen blog button, and no more posts will be allowed to be published in the timeline.
The existing content will remain visible to your readers, but a message will appear at the top of the published timeline indicating that coverage has stopped.

If you wish to restart a live blog that has been stopped, click the Reopen blog button.

Please be aware, however, that your readers will not see any updates from a reopened live blog until they manually reload the page in which it is embedded.
Blogs that have been closed are moved into an archive section of Live Blog. To view a blog that has been archived, click the Superdesk logo in the top-left corner of the screen, and select the Archive blogs tab. You will see a list of archived blogs. To make a blog active again, click on its name, and then use the Reopen blog button as above.