Omnibook for Creative Writers
The Edit Interface
Once you have created your book, click on its Edit Book icon to enter the edit interface and begin work on your book's content.
The edit interface will be displayed, showing the Table of Contents view.
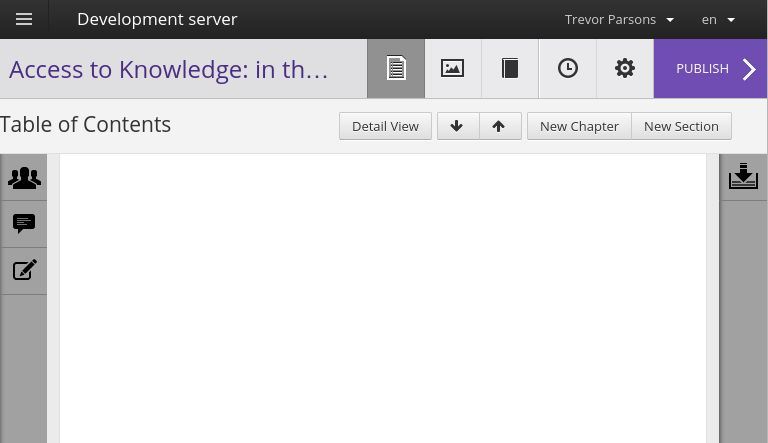
It's worth taking a little time to get to know the edit interface. At the top right of the page, to the right of your book's title, are the buttons for the different sections of the edit interface.

From left to right, these are:
- Table of Contents (the default view)
- Media
- Cover Manager
- Book History
- Settings
- Publish
Each of these items are explained briefly below, and more detail is provided in later chapters. On the left of the page and visible in every section of the edit interface are three tabs on the theme of communication.
![]()
From top to bottom, these tabs are:
- Online Users - who else is currently working on the book
- Chat - a timeline of both manual and automatic notifications
- Notes - a scratch pad for notes which all users collaborating on the book can see
For more detail on these features, see the chapter Communicating.
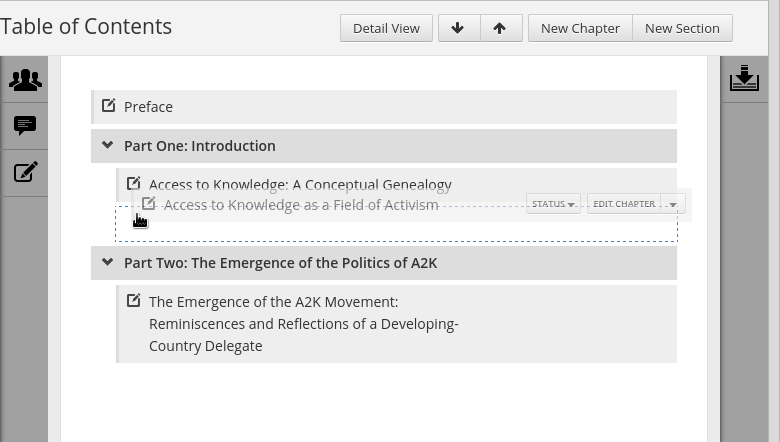
Table of Contents
The Table of Contents is where you create new chapters and sections, and initiate the editing of chapters. You can also rearrange the order of sections and chapters, and modify their status. For more detail, see the chapters The Table of Contents and Communicating.
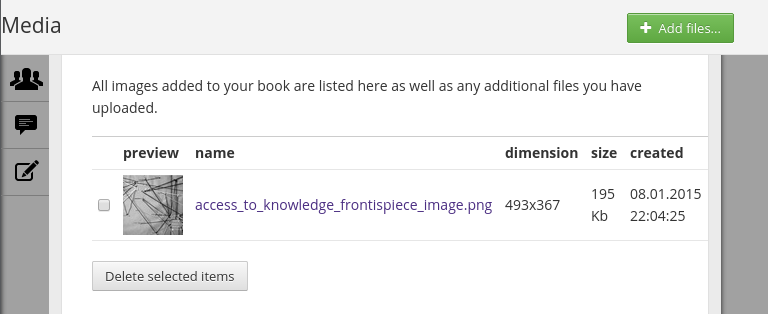
Media
The Media section lists all the images or other files you have uploaded which you can add to your book. You can also upload images and other files here before placing them in a chapter, and you can delete unwanted files if you have the necessary privileges.
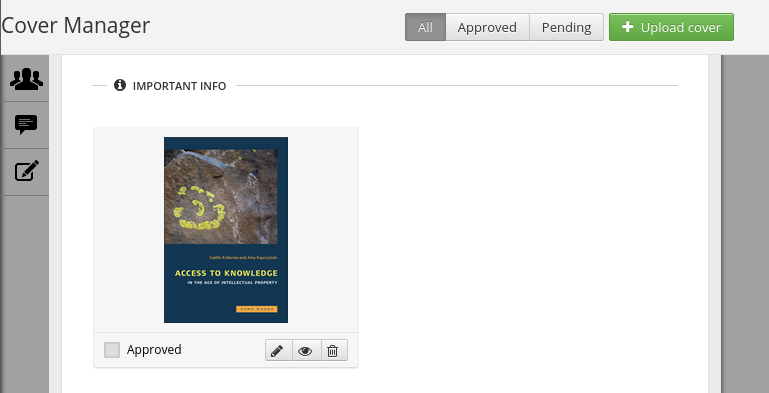
Cover Manager
The Cover Manager section allows you to upload and manage covers for your book. You should upload your ebook cover image files (JPEG, GIF or PNG format) in the appropriate dimensions for the output format. Artwork (in TIFF, XCF, PSD, PDF, PS, SVG, EPS, AI or INDD format) for the front cover, spine and back cover of your print books can be uploaded and managed, but will be kept separate from the text of the book when publishing it.
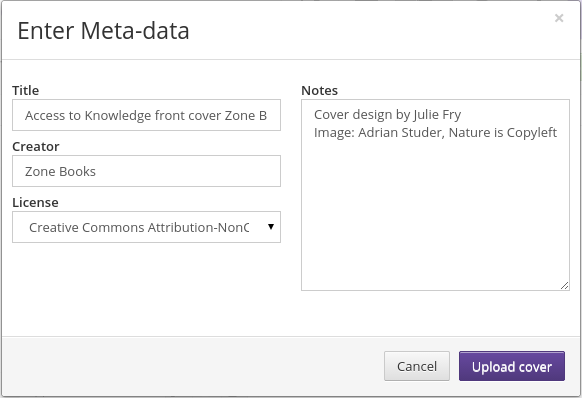
When you click Upload cover, the Enter Meta-data dialog enables you to specify the title, creator and licence for the image, and associated notes.
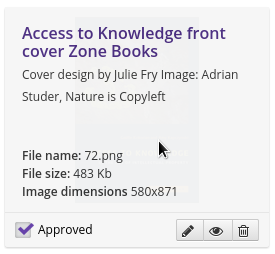
Once you have entered the meta-data and clicked Upload cover, the cover image is displayed in the Cover Manager. The image's meta-data is visible when you move your pointer over the cover.
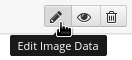
You can revise these details at any time by clicking on the cover's Edit Image Data icon.
Book History
In the Book History section you can follow the history of edits and revisions to your book. You can see who has made what changes on what date, and compare revisions.
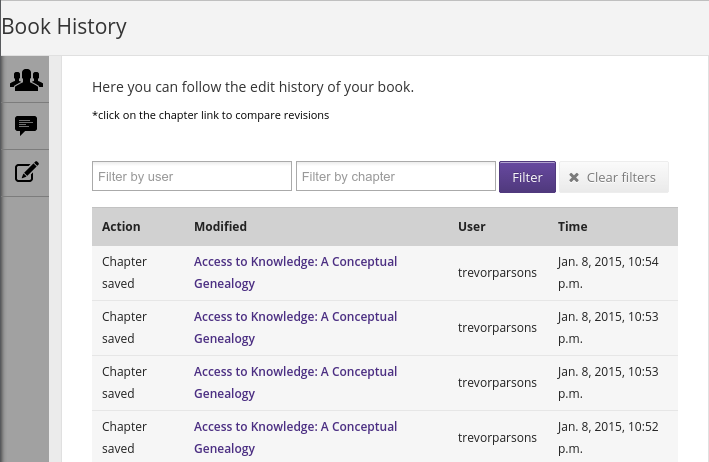
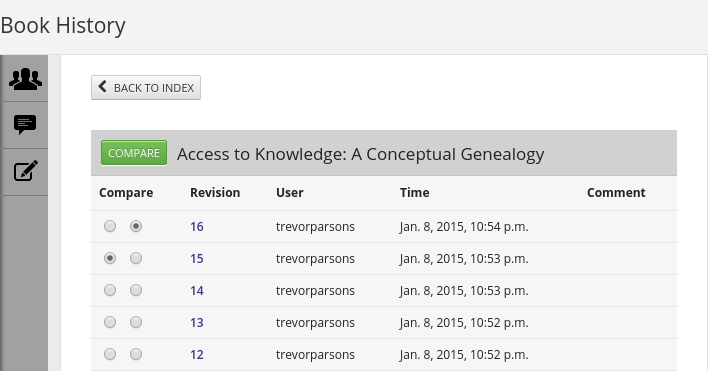
Click on the chapter link you're interested in to compare revisions. This will take you to a revision comparison interface. If you have ever looked at the edit history of a Wikipedia article, this interface will be familiar to you. Select the radio buttons of two revisions you would like to compare, in the order in which you would prefer them to appear (left column / right column) and click the Compare button.
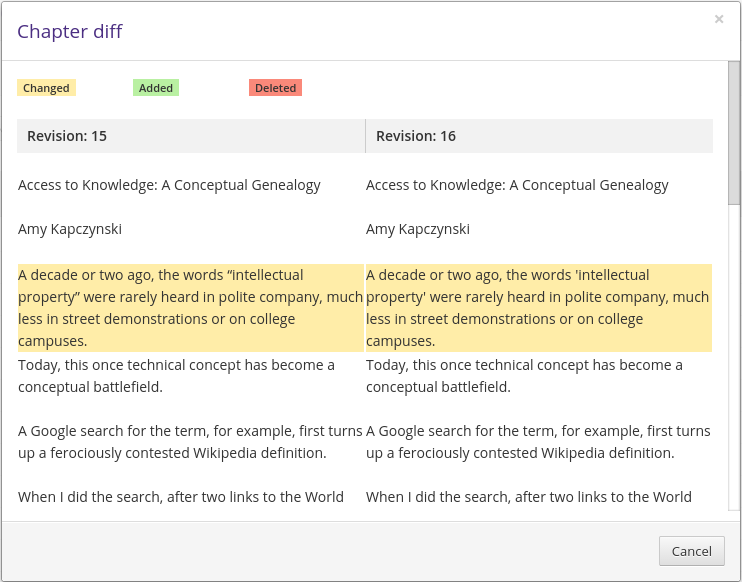
A 'diff' (difference between) the two chapter revisions will be displayed, with colour coding to indicate which sections of text have been changed, added or deleted.
Settings
In the Settings section, you can configure various aspects of your book including language, licence, custom chapter statuses, metadata, roles, permissions and visibility. Please see the chapter Settings for further information.
Publish
When your book is ready for proofing or final publication, the Publish section contains the settings and workflow required for outputting your work in a number of formats tailored for screen and print. See the chapter Exporting a Book for details.